Why Whiten Eyes in Photoshop?
Eye whitening is a crucial aspect of photo editing, essential for enhancing the overall appearance of portraits and other images. The human eye is often the focal point of a photograph, and discolored or dull eyes can detract significantly from the image’s impact. Whitening eyes in Photoshop helps to create a more vibrant and engaging look, making subjects appear healthier, more alert, and more visually appealing. This process can dramatically improve the quality of your photos, transforming them from good to great. It’s a subtle adjustment that yields significant results.
Understanding the Importance of Eye Whitening in Photos
In photography, the eyes serve as windows to the soul, and their clarity and brightness can significantly impact the viewer’s perception of the subject. Whitening eyes goes beyond mere aesthetics; it enhances the emotional connection a viewer has with the image. Bright, clear eyes convey vitality, youthfulness, and approachability, drawing the viewer in and creating a more favorable impression. This technique is particularly important in portraits, where the eyes are often the primary focus, influencing how the viewer perceives the subject’s personality and mood. Effective eye whitening can make a photo appear more professional and polished, elevating its overall quality.
Common Causes of Red Eyes and Discoloration

Red eyes and discoloration in photographs are often caused by several factors. One of the most common is the red-eye effect, which occurs when a camera flash reflects off the retina. This is particularly prevalent in low-light situations where the pupils are dilated. Other causes include blood vessels in the eyes, exposure to irritants, allergies, or even tiredness. Additionally, the lighting conditions during the photo shoot and the camera settings can contribute to eye discoloration. Understanding these causes is the first step in effectively correcting the issue using Photoshop, allowing you to restore natural-looking eye color and improve the overall aesthetic of your images. Also, make sure to have the appropriate photos for the process.
Tools Needed for Whitening Eyes in Photoshop
To effectively whiten eyes in Photoshop, you’ll need a few key tools. These tools allow you to make precise adjustments to the eye area without affecting the rest of the image. Photoshop’s flexibility allows for both simple and complex edits, making it suitable for beginners and professionals alike. The choice of tools will depend on the specific needs of the image and the desired outcome, but these are essential tools.
The Power of Photoshop Essential Tools
Photoshop provides an extensive suite of tools to manipulate and enhance images, and understanding these tools is crucial for eye whitening. The Lasso Tool is your go-to for creating precise selections around the eyes, allowing you to isolate the area for editing. Adjustment layers are essential for non-destructive editing, enabling you to make changes without permanently altering the original image. These layers allow for flexibility and easy adjustments as you work. Brush Tool and Eraser Tool will help you fine-tune your selections and mask imperfections.
Essential Photoshop Tools for the Task

- Lasso Tool: For selecting the eye area.
- Adjustment Layers (Brightness/Contrast, Curves): For making non-destructive adjustments to brightness and contrast.
- Brush Tool: To refine selections and apply adjustments locally.
- Eraser Tool: To remove unwanted areas of your mask.
- Clone Stamp Tool: To remove small blemishes or imperfections.
- Color Correction Tools (Hue/Saturation, Color Balance): For fine-tuning the color of the eyes.
Step-by-Step Guide to Whitening Eyes in Photoshop
Whitening eyes in Photoshop is a straightforward process when you follow a step-by-step guide. This will help you achieve natural-looking results. This will make your photos look much better than before.
Opening and Preparing Your Image
Begin by opening your image in Photoshop. Once your image is open, it’s a good practice to duplicate the original layer. This preserves the original image, allowing you to make non-destructive edits. To duplicate the layer, right-click on the layer in the Layers panel and select ‘Duplicate Layer’. This prepares your image and protects your original work.
Selecting the Eye Area

The next step is to select the eye area precisely. Use the Lasso Tool, Polygonal Lasso Tool, or Elliptical Marquee Tool to carefully outline the iris and sclera (the white part of the eye). Ensure your selection includes the areas you want to adjust, but be precise to avoid affecting the surrounding skin. A precise selection is crucial for a natural-looking outcome.
Creating a Selection with the Lasso Tool
The Lasso Tool is ideal for freehand selections. Select the Lasso Tool from the toolbar. Carefully trace around the edge of the iris and the white part of the eye. Close the selection by connecting the end of your line to the starting point. You can adjust the selection as needed using the add and subtract options in the tool’s options bar. If you mess up, just use the undo option. Make sure it is clean and precise.
Fine-Tuning Your Selection
Once you have created the initial selection, fine-tuning it is essential. Go to ‘Select’ > ‘Modify’ > ‘Feather’ to soften the edges of your selection. A feather radius of 0.5 to 1 pixel can create a more natural blend. Use the ‘Refine Edge’ tool (Select > Refine Edge) to further refine the selection, especially around the edges. This helps to blend the adjustments seamlessly with the surrounding skin. This step prevents harsh lines.
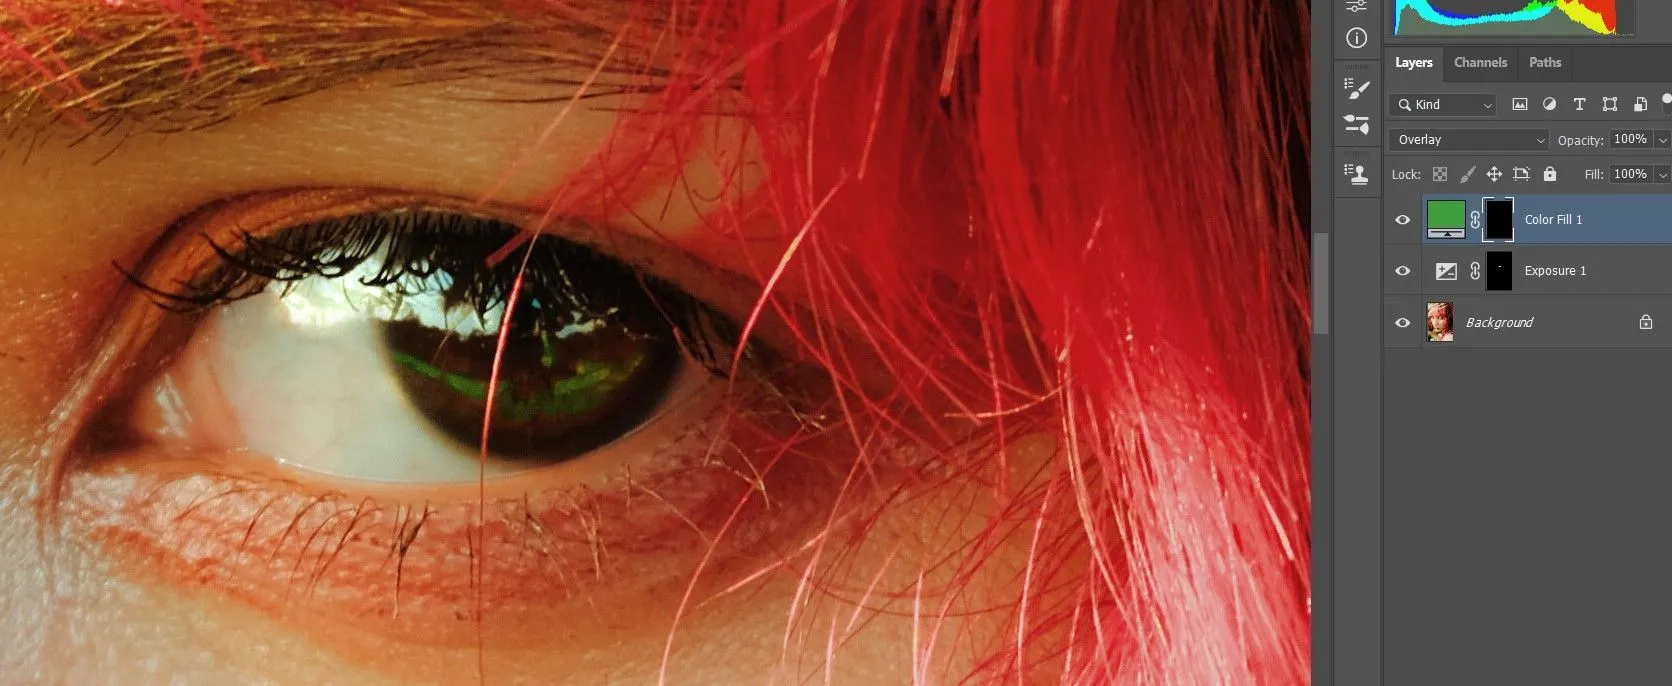
Using Adjustment Layers for Natural Results

To whiten the eyes, use Adjustment Layers. This method ensures you don’t permanently alter the original image and allows for easy adjustments. Adjustment layers provide a non-destructive way to edit, meaning you can always go back and modify your changes without affecting the original pixels. Using Adjustment Layers helps achieve a more natural look by allowing you to control the intensity and blend the adjustments.
Creating an Adjustment Layer
With your selection in place, create a new Adjustment Layer by clicking the half-filled circle icon at the bottom of the Layers panel. From the menu, select ‘Brightness/Contrast’ or ‘Curves’. These tools allow you to adjust the overall brightness and contrast of the selected area. You can adjust these layers to control the intensity of the effect.
Adjusting Brightness and Contrast
Once you’ve created your Brightness/Contrast adjustment layer, experiment with the sliders to whiten the eyes. Increase the brightness slightly and, if necessary, adjust the contrast to enhance the effect. Start with small adjustments and monitor how the changes affect the overall image. The goal is to brighten the eyes without making them appear unnatural. It may take practice, but it gets better as you do it more.
Applying a Color Correction

If the eyes have a reddish tint, you can use a Hue/Saturation or Color Balance adjustment layer to correct this. Select the ‘Hue/Saturation’ or ‘Color Balance’ option from the Adjustment Layer menu. In the Hue/Saturation panel, adjust the saturation of the red tones to reduce the redness. In the Color Balance panel, shift the colors towards the blue or cyan tones to counteract the red. This subtle adjustment will help restore a natural look to the eyes. You can make it look natural.
Masking and Blending Techniques
Masking is essential for controlling the area affected by the adjustment layer. The selection you created automatically becomes a mask. The white areas of the mask show where the adjustment is applied, and the black areas hide it. You can use the Brush Tool with a soft brush to paint on the mask and fine-tune the effect. Use a low opacity and flow for a smooth blend with the surrounding skin. You can also remove areas that look bad.
Refining the Mask
To further refine your mask, use the Brush Tool with black or white to add or remove the effect in specific areas. With the mask selected, a black brush will erase the effect, and a white brush will restore it. Zoom in on the eyes and carefully paint around the edges of the iris and sclera. Ensure that the effect is applied only to the eye area. You can also use the Eraser Tool to refine the mask. This step ensures that the changes blend seamlessly.
Blending the Whitening Effect

To blend the whitening effect naturally, consider adjusting the opacity of the adjustment layer. Lowering the opacity softens the effect and makes the changes less noticeable. Also, use the Feather option. These subtle adjustments prevent the eyes from looking overly bright or artificial. Experiment with different blending modes to achieve a realistic look. This fine-tuning helps the eyes blend with the rest of the image, creating a cohesive look.
Advanced Techniques for Professional Results
For more advanced results, consider incorporating techniques like removing veins, enhancing eye color, and adding sparkle. These advanced techniques can significantly improve the overall look of the eyes, enhancing their natural beauty and creating a more polished finish. These steps take the process to the next level.
Removing Redness and Veins
To remove redness and veins, create a new layer and use the Clone Stamp Tool to sample and paint over the affected areas. Carefully select a clean area from the sclera and clone it over the red veins. Pay close attention to the texture and lighting to maintain a natural appearance. Use small brush sizes and low opacity for precision. You may need to adjust the opacity and blend modes to blend the cloned areas seamlessly. It makes a big difference to the overall image.
Enhancing Eye Color

Use the Hue/Saturation adjustment layer to enhance the eye color subtly. Select the specific color range of the iris and increase the saturation slightly. Avoid over-saturating the colors, which can make the eyes look unnatural. You can also adjust the hue to fine-tune the color. Use masking techniques to apply these adjustments selectively, making it easier to get the desired effect. It makes the subject’s eyes really pop.
Adding Sparkle and Shine
Add sparkle and shine to the eyes by creating a new layer. Use the Brush Tool with white or a slightly off-white color. Set the brush to a soft round shape and apply a small, subtle highlight in the catchlight area of the eye. Adjust the opacity and blending mode (e.g., Overlay or Soft Light) to blend the highlight naturally. Adding a tiny highlight can dramatically enhance the vibrancy of the eyes.
Tips and Tricks for Flawless Eye Whitening
Mastering the art of eye whitening involves several helpful tips and tricks. These help you to improve your skills and achieve the best results in your editing workflow. Practice and patience are key, and with each edit, you’ll become more proficient.
Avoiding Over-Whitening
One of the most common mistakes is over-whitening the eyes. It can make your subject look unnatural and even creepy. Always aim for a natural look. Use subtle adjustments and monitor how the changes affect the overall image. The goal is to enhance the eyes without making them appear fake. A balanced approach is key. Make sure it is not too white.
Best Practices for Different Eye Colors
Adjusting your approach based on the eye color can yield better results. For blue or green eyes, slight adjustments in saturation and brightness often work well. For brown eyes, you may need to be more careful, as over-whitening can make them appear flat. Always consider the specific eye color of your subject and adjust your techniques accordingly. Different colors need slightly different approaches.
Reviewing and Refining Your Work
Before finalizing your edit, take the time to review your work carefully. Zoom in on the eyes and assess the results from a distance. Make any necessary adjustments to ensure a natural and balanced look. Consider the overall aesthetic of the image and how the eye whitening complements the rest of the photo. Getting a second opinion can also be beneficial, providing fresh eyes to catch any issues. This step is crucial to ensuring your photo looks its best.